Can I hang gymnastic rings safely at home? Yes, you absolutely can hang gymnastic rings safely at home with the right equipment and proper installation techniques. This guide will walk you through everything you need to know to set up your own professional-quality gymnastics ring station.
Setting up gymnastic rings in your home gym offers a versatile and challenging way to build strength, improve your body control, and perform a wide array of exercises. From fundamental push-ups and dips to advanced movements like muscle-ups, rings are a fantastic addition to any fitness regimen. However, safety is paramount. Improperly installed rings can lead to serious injury. This comprehensive guide will cover the best methods for hanging gymnastic rings, ensuring a secure and reliable setup for your workouts. We’ll explore various mounting options, the importance of quality hardware, and step-by-step installation processes.
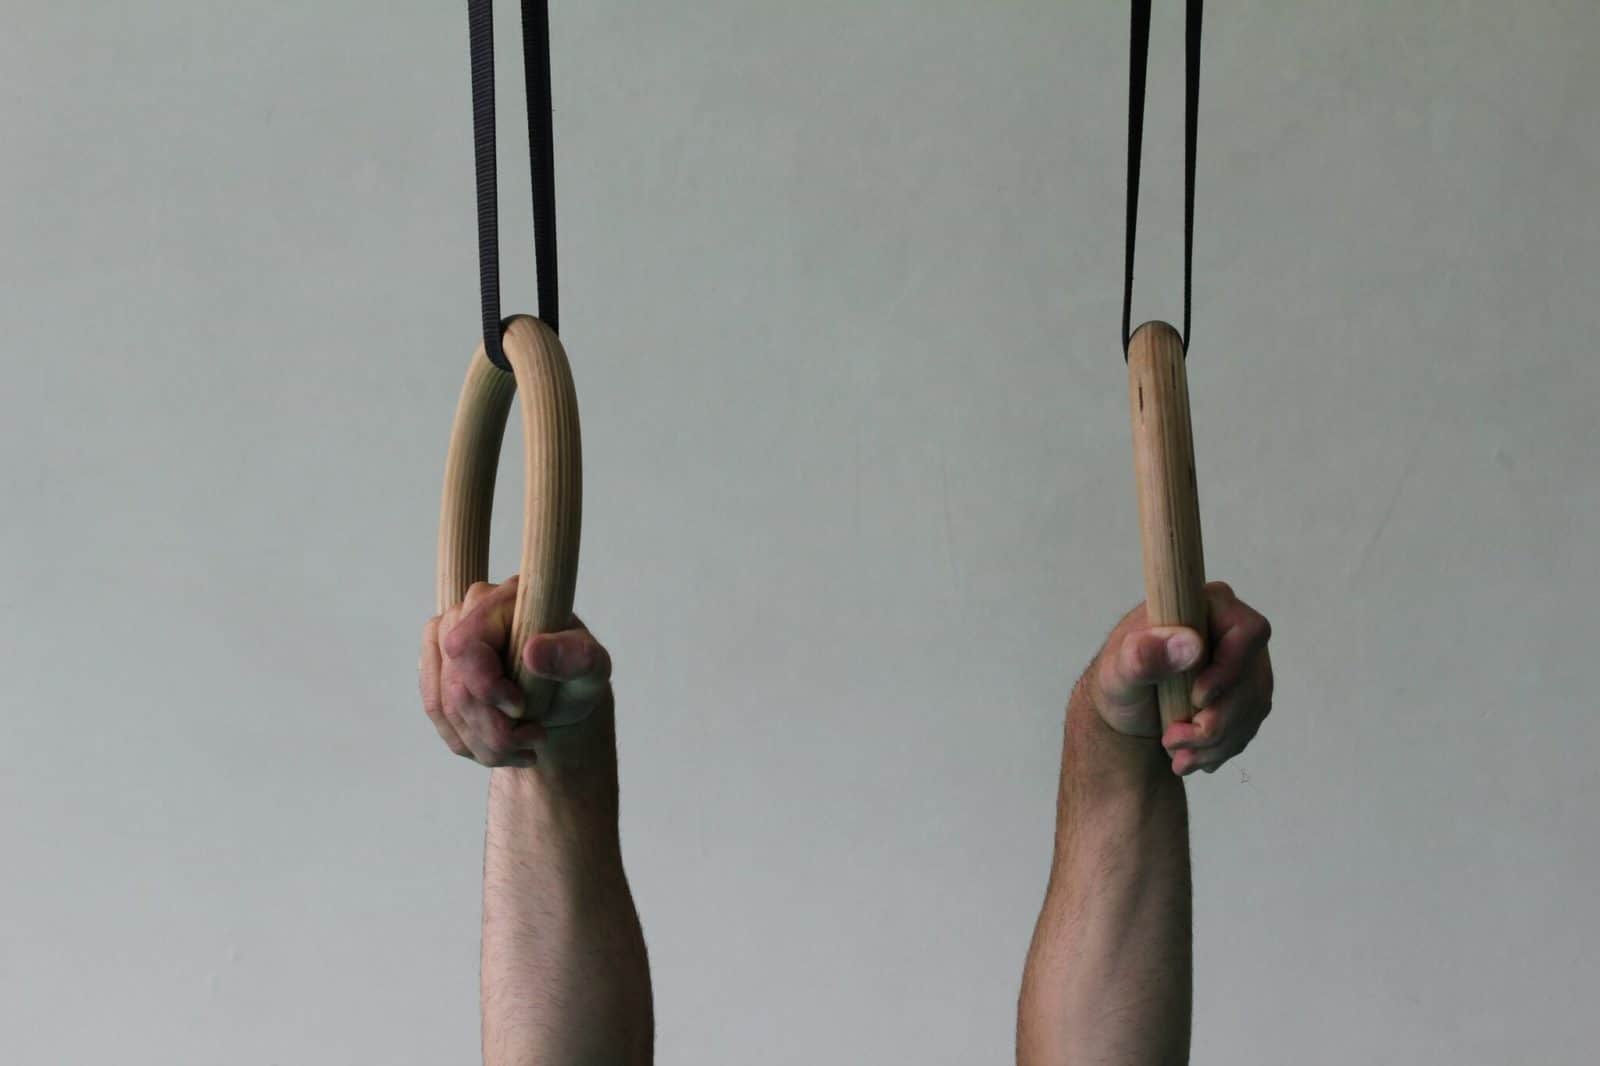
Image Source: gmb.io
Choosing the Right Mounting Method
The first step in safely hanging your gymnastic rings is selecting the most suitable mounting method for your home. Several options exist, each with its own advantages and ideal placement scenarios.
Ceiling Mount Rings
Ceiling mounting is a popular choice for its clean look and versatility. It provides a direct overhead anchor point, perfect for a wide range of ring exercises.
Considerations for Ceiling Mounts:
- Joist Location: You must attach ceiling mounts directly into ceiling joists. Drywall alone will not support the forces generated by ring exercises.
- Material Type: Ensure your ceiling joists are made of solid wood. If you have a metal frame ceiling, you’ll need specialized hardware.
- Height: Consider the desired height of your rings. Most people prefer rings to be adjustable so they can be used for various exercises, from low-hanging rows to higher pull-ups and dips.
Installation Steps for Ceiling Mounts:
- Locate Joists: Use a stud finder to accurately locate the center of your ceiling joists. Mark their positions.
- Mark Mount Placement: Decide on the distance between your rings. A common spacing is around 18-24 inches, but this can be adjusted based on personal preference and exercise selection.
- Drill Pilot Holes: Drill pilot holes into the joists at your marked locations. These holes should be slightly smaller than the lag bolts you’ll be using.
- Attach Heavy Duty Ring Hangers: Securely screw the heavy duty ring hangers into the joists using lag bolts. Ensure they are tightened firmly. These are the crucial home gym ring attachment points.
- Connect Gymnastic Ring Straps: Attach your gymnastic ring straps to the hangers. Most straps have carabiners or loops that attach easily.
- Adjust Ring Height: Adjust the height of the rings using the strap adjustment mechanisms.
Wall Mounted Rings
Wall mounting is another excellent option, particularly if ceiling height is limited or if you prefer a dedicated wall station. This method requires sturdy wall studs.
Considerations for Wall Mounts:
- Stud Strength: Similar to ceiling mounts, wall mounts must be secured to solid wood studs.
- Spacing: The distance between wall mounts determines the versatility of your ring setup.
- Mount Type: Look for robust, purpose-built wall brackets designed for suspension training or similar loads.
Installation Steps for Wall Mounts:
- Locate Studs: Use a stud finder to identify the center of your wall studs. Mark their positions.
- Determine Spacing: Decide on the distance between your wall mounts, considering the types of exercises you’ll perform.
- Mark Bracket Placement: Mark the exact locations where the wall mounted rings brackets will be installed.
- Drill Pilot Holes: Drill pilot holes into the studs at the marked locations.
- Secure Brackets: Attach the wall mounted rings brackets using lag bolts or lag screws that are appropriate for the weight and forces involved. Ensure they are tightened securely into the studs.
- Attach Rings: Connect your gymnastic ring straps to the installed brackets.
Doorway Pull Up Bar Rings
For a portable and temporary solution, a doorway pull-up bar designed for ring suspension can be a great option. These require no permanent installation.
Considerations for Doorway Bars:
- Door Frame Strength: Ensure your door frame is robust and in good condition. Not all door frames are designed to withstand significant lateral force.
- Bar Stability: Most doorway bars use leverage to stay in place. Make sure the bar is seated correctly and feels stable before use.
- Exercise Limitations: While great for many exercises, doorway bars might limit the range of motion for some advanced ring movements.
Installation and Use:
- Assemble Bar: Follow the manufacturer’s instructions to assemble and adjust the doorway pull-up bar for your specific doorway.
- Secure to Frame: Place the bar securely in the doorway, ensuring it engages the frame properly.
- Attach Rings: Loop your gymnastic ring straps over the pull-up bar.
- Test Stability: Before performing any strenuous exercises, gently pull down on the rings to test the bar’s stability.
Suspension Trainer Installation
While not strictly for gymnastic rings, the principles of suspension trainer installation are very similar. If you’re looking to adapt a suspension trainer setup for rings, ensure the anchor points are rated for dynamic loads and are securely fastened to structural elements. Many suspension trainers utilize ceiling or wall mounts that could also serve as Crossfit ring anchor points.
Essential Hardware and Equipment
The quality of your hardware is non-negotiable when it comes to safety. Investing in reliable components will protect you and ensure longevity for your home gym.
Gymnastic Ring Straps
The straps are the direct link between you and your anchor points. Look for straps made from durable materials like nylon or polyester.
- Adjustability: Adjustable gymnastics rings systems usually come with easily adjustable straps that allow you to change the height quickly. This is crucial for performing a variety of exercises.
- Buckle Quality: Ensure the buckles or adjustment mechanisms are strong and secure. Cam buckles or ladder locks are common and reliable.
- Weight Capacity: Always check the weight capacity of the straps. They should be rated significantly higher than your body weight to account for dynamic forces.
D Ring Setup and Carabiners
Many ring systems use a D ring setup to connect the straps to the rings. These are typically made of heavy-duty steel.
- Load Rating: Carabiners used for gymnastics should be load-rated and ideally be locking carabiners to prevent accidental opening.
- Material: Steel carabiners are generally preferred for their strength and durability over aluminum ones in this application.
Heavy Duty Ring Hangers
These are the specific mounting hardware that attaches to your ceiling joists or wall studs.
- Material: For ceiling mounts, J-hooks or eye bolts made of forged steel are ideal. For wall mounts, robust brackets are necessary.
- Weight Capacity: Ensure these hangers are rated for at least 500-1000 lbs static load, and more importantly, dynamic loads. A proper home gym ring attachment will be rated for significant stress.
DIY vs. Pre-made Kits
You can either buy a complete ring mounting kit or piece together your own system.
Pre-made Kits
- Pros: Convenient, often come with all necessary hardware and instructions, designed to work together.
- Cons: Can be more expensive, might not offer the exact customization you desire.
DIY Components
- Pros: Can be more cost-effective, allows for complete customization, lets you choose the exact quality of each component.
- Cons: Requires more research to ensure compatibility and safety, might take longer to assemble.
When building your own system, remember that a solid Crossfit ring anchor is built from dependable components.
Step-by-Step Installation: Ceiling Mount Example
Let’s detail the process for a common and secure ceiling mount. This is often the preferred home gym ring attachment for its stability and overhead reach.
Tools You’ll Need:
- Stud Finder
- Drill and Drill Bits (including a bit for pilot holes and a socket bit for lag bolts)
- Measuring Tape
- Pencil
- Ladder
- Safety Glasses
- Wrench or Socket Wrench
Materials:
- Two Heavy Duty Ring Hangers (e.g., forged steel eye bolts or J-hooks)
- Lag Bolts (appropriate size and length for your joists)
- Gymnastic Rings with Straps
Installation Procedure:
- Safety First: Always wear safety glasses when drilling or working overhead. Ensure your ladder is stable.
- Locate Joists: Use your stud finder to locate two parallel ceiling joists. Mark the center of each joist with your pencil. Measure the desired distance between your rings (e.g., 20 inches) and mark the attachment points on each joist.
- Determine Mount Type: Decide if you’re using eye bolts or J-hooks. Eye bolts screw directly into the joist, while J-hooks usually have a plate that is lagged into the joist.
- Drill Pilot Holes: At each marked spot, drill a pilot hole into the center of the joist. The pilot hole should be slightly smaller than the diameter of your lag bolts to ensure a tight fit and prevent wood splitting.
- Install Hangers:
- For Eye Bolts: Screw the eye bolt into the pilot hole. Use a wrench inserted through the eye to help screw it in if needed, but be careful not to overtighten and strip the wood. It should be snug.
- For J-Hooks (or Plates): Position the bracket against the joist, aligning the screw holes with your pilot holes. Drive lag bolts through the bracket and into the joist using your drill and socket bit. Ensure the hook part is oriented correctly for your straps.
- Verify Security: Gently pull on each hanger to confirm it’s firmly attached. There should be no wobble or give.
- Attach Straps: Clip or loop your gymnastic ring straps onto the installed hangers.
- Adjust Ring Height: Thread the straps through the ring and adjust the height so the rings are at a comfortable starting position for your first exercise. Ensure the adjustment buckles are locked securely.
Step-by-Step Installation: Wall Mount Example
Wall mounting can be an excellent choice, especially if you have a dedicated workout space with strong walls.
Tools You’ll Need:
- Stud Finder
- Drill and Drill Bits
- Measuring Tape
- Pencil
- Level
- Ladder (if working at height)
- Safety Glasses
- Wrench or Socket Wrench
Materials:
- Two Heavy Duty Wall Brackets (ensure they are rated for dynamic loads)
- Lag Bolts (appropriate size and length for your studs)
- Gymnastic Rings with Straps
Installation Procedure:
- Safety First: Wear safety glasses. Ensure your ladder is stable if used.
- Locate Studs: Use a stud finder to locate two parallel wall studs. Mark the center of each stud.
- Determine Spacing and Height: Measure the desired distance between your wall mounts. Use a level to ensure the marks for both brackets are at the exact same height. This is critical for proper exercise form.
- Mark Bracket Placement: Hold the first bracket against the wall at your marked stud location and height. Trace the screw holes onto the wall with your pencil. Repeat for the second bracket.
- Drill Pilot Holes: Drill pilot holes into the center of the studs at your marked locations. The size of the pilot hole should be slightly smaller than your lag bolts.
- Secure Brackets: Align the first bracket with the pilot holes. Drive lag bolts through the bracket’s mounting holes and into the stud using your drill and socket bit. Tighten firmly. Repeat for the second bracket.
- Verify Security: Pull firmly on each bracket to ensure it is securely mounted to the studs. It should not move or flex.
- Attach Straps: Connect your gymnastic ring straps to the wall brackets.
- Adjust Ring Height: Adjust the height of the rings to your desired starting position, ensuring the strap adjustments are secure.
Understanding the Forces at Play
Gymnastic rings are subjected to significant forces, especially during dynamic movements like swinging or kipping. This is why using appropriate heavy duty ring hangers and secure anchor points is vital.
- Static Load: This is the force exerted when you are hanging still from the rings.
- Dynamic Load: This is the much higher force generated when you move, swing, or change direction. A dynamic load can be several times your body weight. For example, a kipping motion can multiply your body weight by 3 or more.
This is why a simple screw into drywall or a lightweight hook is completely inadequate. Your Crossfit ring anchor points must be able to withstand these substantial forces.
Selecting Quality Gymnastic Rings
While this guide focuses on hanging, the rings themselves are also important.
- Material: Wooden rings (birch or maple) are common and offer a good grip. Plastic rings are lighter and cheaper but may feel less substantial.
- Diameter: Standard ring diameters are usually around 9.5 inches. Consider your hand size.
- Straps: As mentioned, durable, easily adjustable straps are key.
Common Pitfalls to Avoid
- Attaching to Drywall: Never attach any suspension equipment directly to drywall. It has no structural integrity.
- Ignoring Studs/Joists: Always locate and secure hardware to solid wood studs or joists.
- Underestimating Forces: Assume dynamic movements will exert forces far exceeding your body weight.
- Using Substandard Hardware: Cheap, unrated hardware can fail catastrophically.
- Incorrect Spacing: Too narrow or too wide spacing can limit exercise options or compromise form.
Frequently Asked Questions (FAQ)
Q1: How far apart should I space my gymnastic rings?
A1: The ideal spacing varies depending on your body size and the exercises you intend to perform. A common starting point is 18-24 inches center-to-center for adjustable gymnastics rings. For bodyweight rows, you might want them closer. For dips and presses, a slightly wider stance can be beneficial. Experiment to find what feels best for your most frequent exercises.
Q2: Can I use a tree branch to hang my rings?
A2: While possible, hanging rings from a tree branch is generally not recommended for safety and consistency. Branches can vary in strength, and their movement can be unpredictable. If you must, ensure the branch is exceptionally thick, healthy, and free of rot. Use wide, padded straps to protect the bark and ensure a secure attachment. However, dedicated home gym anchors are always the safer and more reliable option.
Q3: What is the minimum ceiling height for gymnastics rings?
A3: There isn’t a strict minimum, but you’ll want enough clearance to perform exercises without hitting your head or the ceiling. For most fundamental ring exercises like rows, push-ups, and dips, a ceiling height of 8 feet is usually sufficient if the rings are hung at a moderate height. For advanced movements like muscle-ups, you’ll need more overhead space, ideally 10 feet or more. The key is the adjustability of your gymnastic ring straps.
Q4: Do I need special tools to install ceiling mount rings?
A4: You’ll need a stud finder to locate joists, a drill with appropriately sized drill bits for pilot holes and driving lag bolts (usually a socket attachment), a measuring tape, and a pencil. A ladder is also essential for safe access to the ceiling.
Q5: What kind of load rating should my anchor points have?
A5: For heavy duty ring hangers and anchors, look for a static load rating of at least 500-1000 lbs per anchor. More importantly, consider the dynamic load capacity. While specific dynamic ratings are rarely published for consumer hardware, opting for forged steel components and ensuring they are properly installed into solid structural elements is the best approach. These points act as your primary Crossfit ring anchor.
Q6: Can I use a doorway pull up bar with gymnastic rings?
A6: Yes, many doorway pull-up bars are designed to accommodate suspension trainers and can also be used with gymnastic rings. However, ensure your door frame is strong enough to handle the forces involved, and always test the bar’s stability before committing your full body weight. It’s a convenient option but not as robust as a permanently mounted system for intense training. This is a simpler form of suspension trainer installation.
Q7: Are wooden or plastic rings better?
A7: Wooden rings are generally preferred by many athletes for their feel and grip. They are more traditional and offer a better sensory feedback. Plastic rings can be lighter, more affordable, and weather-resistant, making them suitable for outdoor use or for those with grip sensitivity, but they might not feel as solid.
Q8: What if I can’t find my ceiling joists?
A8: If you’re having trouble locating joists or are unsure about your ceiling structure, it’s highly recommended to consult with a professional contractor or handyman. Improperly anchored equipment can lead to severe damage and injury. Never guess the location of structural supports.
By carefully following these guidelines and prioritizing quality hardware, you can safely and effectively hang your gymnastic rings, opening up a world of strength-building possibilities right in your own home gym. Enjoy your training!